For this exercise the idea is to find symbols for a number of concepts and say how you might use them in photographs.
Growth
A city with a large amount of building going on and perhaps with lots of skyscrapers- i.e Take a photograph of a city such as Dubai with an empathises on what is being built and what has already been built showing the two in juxtaposition.
A large pile of money - perhaps to illustrate investment growth.
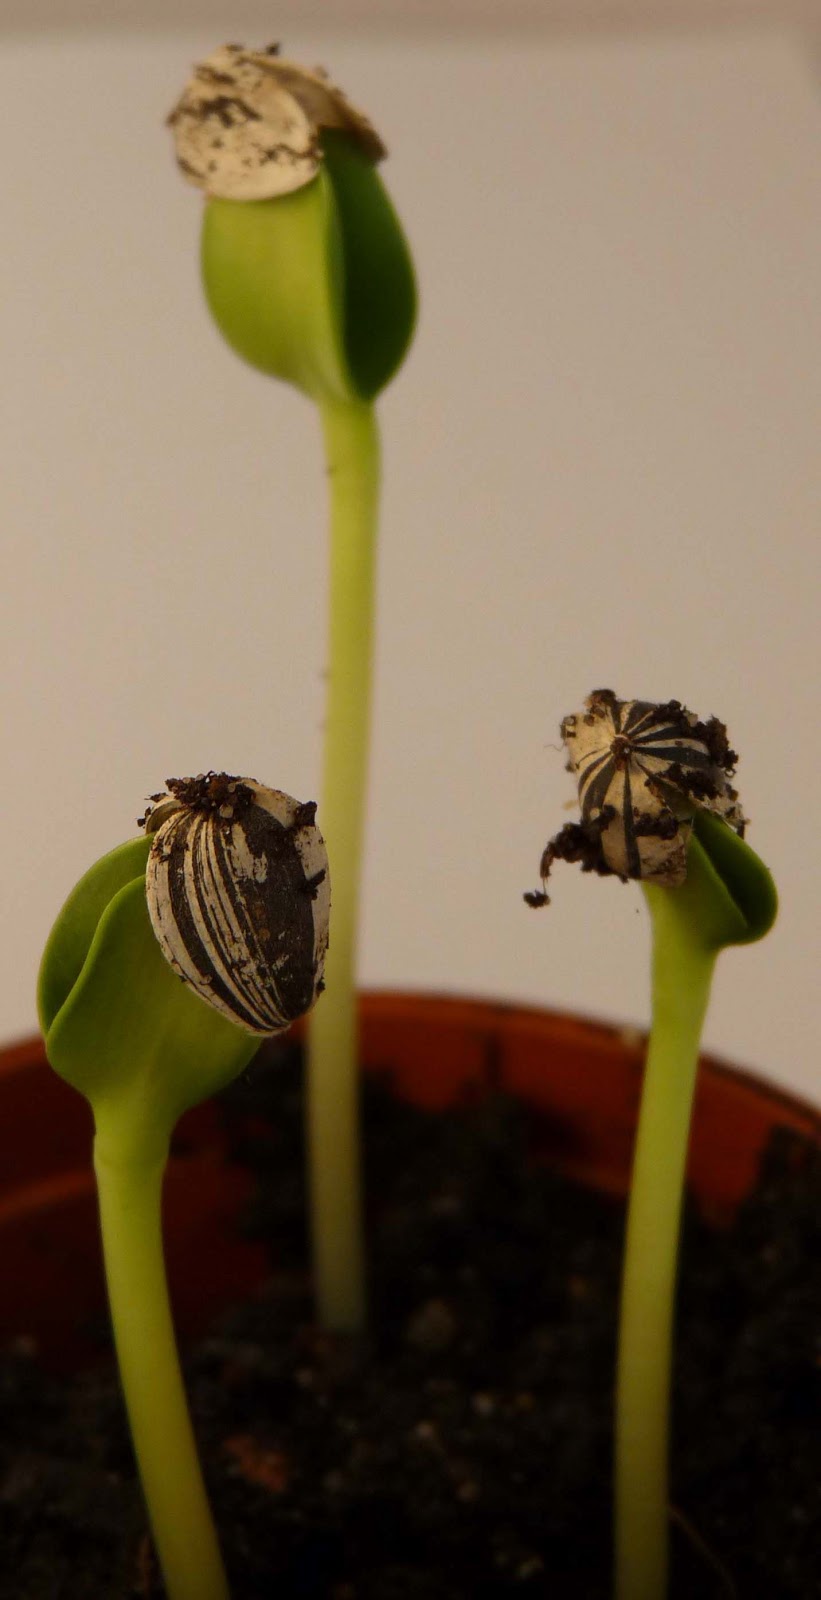
A seedling which has newly burst into life.
Excess
A very large MacDonald's meal - i.e A photo could be taken of a supersized hamburger and drink from an interesting angle.
Overweight people- probably not politically correct but could be taken at a slimming class!
Crime
A gun
A building which has been broken into with perhaps graffiti- this is perhaps the easiest to photograph-maybe a derelict building with broken windows and graffiti.
Someone being led from court into a police van.
Silence
A library with people studying.
A monastery.
An exam taking place.
A waterfall- Perhaps the easiest to find. A slow shutter speed would blur the water giving a sense of peace/silence.
An early morning tranquil scene of a lake.
Poverty
A beggar.
Third world poverty with a child holding out a bowl for food.
An empty purse- this would be the easiest to photography perhaps with a hand emptying out the purse and a few pence lying on a table.
Saturday, 22 June 2013

Wednesday, 12 June 2013
Evidence of action

For this exercise we were also asked to think about abstract ideas and concepts that are shown in advertising and publicity, which cannot be shown directly. I looked in a few magazines and newspapers I had at hand and here are some I found.
Specsavers - light bulbs planted in plant pot
Clinique mascara - stand out why not? - shoe with very high heel and mascara
Del Monte fruit juice - suitcases packed with tropical fruit
Wednesday, 29 May 2013
A narrative picture essay



This has been an interesting exercise. The photos had a fairly obvious sequence since they were telling a story. I realise now the photographs could have been more interesting if there had been more variety in their size. I also note from what I've read in the course for this section that variety of close and further away shots and also a variety of colour and different lighting can make for a more interesting narrative photo essay.
Monday, 18 February 2013
Stieglitz (1864-1946)
My tutor has suggest that I look at Stieglitz photographs in relation to his use of light at different times of the day.
Albert Stieglitz was a very significant American photographer who was a pioneer over his fifty year career in making phtography an art form. He was"determined to prove photogrpahy was a medium capable of artistic expression as painting or sculpture"
He witnessed New York change from a city with cobblestones to a modern metropolis with skyscrapers. His most famous photogrphs were the Terminal, the Steerage and the O'Keefe portraits.
Albert Stieglitz was a very significant American photographer who was a pioneer over his fifty year career in making phtography an art form. He was"determined to prove photogrpahy was a medium capable of artistic expression as painting or sculpture"
He witnessed New York change from a city with cobblestones to a modern metropolis with skyscrapers. His most famous photogrphs were the Terminal, the Steerage and the O'Keefe portraits.
Friday, 15 February 2013
Edward Weston


Edward Weston (1886-1958) was a 20th century American photographer. He was considered "one of the most innovative and influential photographers. He photographed a wide range of subject such as still lifes, nudes, landscapes, portraits etc. He wrote something as ordinary or extraordinary as a pepper "takes one beyond the world of the conscious mind". His still life photographs of vegetables inspired me to take some of my own photographs of vegetables and fruit above, something which I have never done before.
The first two photographs were taken using a side light with no diffusion to provide high contrast. I particularly like the abstract nature of the second photograph. The others were taken using a light tent with a low lamp lighting the subjects from the side to emphasise texture. I think the diffused light also produces interesting photographs.
Saturday, 9 February 2013
Contrast and shadow fill


For this exercise I set up a simple still-life and placed a desk light at right angles to my camera which was on a tripod and which was level with the still-life. The photos above are in order of contrast, without a diffuser, with white card two feet away, with white card one foot away, with a shiny foil reflector, with a dull foil reflector and with a crumpled foil reflector and with diffused light using a light tent. I think if I had used a stronger light source the differences might be more obvious. It is however interesting how shadow can be filled using reflectors. Although the diffused photos shows less contrast and is flat it does have very little detail lost in the shadows. I will use what I have learnt above when preparing for my assignment.
Friday, 25 January 2013
The lighting angle


 For this exercise I used a desk lamp, a light tent to diffuse the light and I had my camera on a tripod. Unfortunately I could not have my camera exactly horizontal as suggested as I was using a light tent to diffuse the light and the light tent had a raised edge at the front.
I choose a statue of an angel to photograph because of the sculptural nature of it.
The first three photographs were taken with the lamp at the front, the right, the back and the left of the subject The next three were taken were taken with the light overhead and then slightly in front and then slightly behind the subject. The last four photos were taken with the light pointing down at a 45 degrees angle, moving the light around the object. Image one with the light in front produced a flat image with little detail. Image two with the light at the right hand side showed a definite shadow at the left hand side. More detail in the texture of the image was also shown. Image three with the light at the back produced a silhouette showing shape but no detail. Image four, taken from the left hand side produced a shadow on the right hand side produced a shadow on the left hand side. More detail was shown in the subject. The overhead images, five six and seven seemed to be a little flat to me but did show the form well. I think images nine and eleven with the light at a 45 degree angle pointing down produce good detail of the texture of the object.
Over all I think this has been a very useful exercise to show what qualities of an object can be brought out by different lighting conditions. I like image four of the silhouette of the object best because of its striking nature.
Sunday, 13 January 2013
Softening the Light


I took two photographs, one with a naked lamp and one with the object above in a light tent which diffused the light. I used a single desk lamp pointing overhead for both images and I also used my tripod. I realise I need to buy a remote control for my camera in order to get sharper images.
In the first photograph with the naked lamp used as a light source the shadows and highlights are pronounced.
In the second photograph with the diffused light the image looks much flatter and softer and the shadows are very soft and there is little contrast.
I am not sure which one I prefer as they are so different. I t has been an interesting exercise to learn how naked and diffused light can produce such different images.
Saturday, 12 January 2013
Progress in Part Four Light
Now Christmas and New Year are past I can hopefully concentrate on this module. Because the weather has been quite bad and quite a few exercises call for bright light I will have to do these exercises out of sequence. The indoor photography using photographic lighting will be quite a challenge for me as I'm not used to taking photographs indoors let alone photographing still life objects.
Sunday, 16 December 2012
Charlie Waite Landscape Photographer
I was lucky enough recently to go to a lecture by Charlie Waite, one of the world's leading landscape photographers. He is noted for his "painterly approach" in using light and shade. It has been said that his photographs convey an almost spiritual quality of calm and serenity. What came over most from the lecture was his passion for landscape photography and his perfectionism, with amazing attention to detail when taking photographs. He emphasised that light is key to photography and he is prepared to wait for the light to change when taking photographs. He has written "I find that much of my photography involves construction, waiting for elements to happily interlock and align themselves". He also has written "more often that not light is the greatest catalyst that can react and finally yield the image one yearns"
During the lecture he also emphasised the need to take great care when taking photographs as opposed to the scatter gun approach of taking lots of photographs in the hope that one will be good.
His photographs were amazing, meticulously observed with very clever use of light and shade. He said he was moved by the beauty of the scenes and this has been conveyed very successfully in his photographs. Interestingly quite a few photographs were taken on a compact camera at opportunist moments confirming the need to always carry a compact camera with you.
I felt inspired by his lecture, as I am particularly interested in landscape photography and it was fascinating to learn how much patience and attention to detail was involved in taking his photographs. I will definitely take more care over taking my landscape photographs and be prepared to wait for lighting conditions to change. I can't wait to pick up my camera and go out and take more landscape shots.
Saturday, 1 December 2012
Course work
Unfortunately due to my ill health over the last year I've been able to do very little of this course this year. I didn't realise it was so long since I had posted anything on this blog! Although my health is only a little better I'll try and continue doing my next assessment in bite size chunks when I am able. I would still very much like to continue this course and get on to doing other courses too.
Monday, 27 February 2012
Higher and lower sensitivity


I took these photos on a dull day inside a scrap yard. As I was using a shutter speed of 1/125 the first photograph using an ISO of 100 is far too dark. The next photographs were taken using the same shutter speed and ISO's of 200, 400 and 800. When I examined these photographs closely it is obvious that the images become more grainy the higher the ISO.
This exercise has consolidated my knowledge regarding ISO and I can see that in poor lighting conditions it is very useful to be able to use a higher ISO.
Friday, 17 February 2012
Measuring exposure - bracketing
For some reason this text printed over the photographs for this exercise so I am posting this seperately.
In the photograph of the leaves I think all the photographs are acceptable apart from the first photograph which was over exposed by one stop. In this photograph the details in the lightest leaves have been lost due to over exposure.
In the photograph of the quarter of the waterwheel I like the middle photograph which was normally exposed and the two over exposed photographs as more detail is retained in the wall.
In the photograph of half of the waterwheel I think all images are acceptable because there is enough details in the light and dark areas of the photograph.
In the photograph of the mill I think the middle three photographs are acceptable. In the first photograph, over exposed by a stop the detail has been lost in the sky and in the last photograph, under exposed by a stop the detail has been lost in the dark areas of the photograph.
In the last set of photographs of the mill roof I think all the photographs apart from the first one are acceptable. In the first photograph, over exposed by one stop the colours are slightly washed out. I conversely like the under exposed photographs best as the colours are more saturated.
Overall this was a very useful exercise in measuring exposure emphasising the importance of having detail in the highlight and darkest parts of a photographs. It also illustrated that the results can be different depending on the lighting and subject.
In the photograph of the leaves I think all the photographs are acceptable apart from the first photograph which was over exposed by one stop. In this photograph the details in the lightest leaves have been lost due to over exposure.
In the photograph of the quarter of the waterwheel I like the middle photograph which was normally exposed and the two over exposed photographs as more detail is retained in the wall.
In the photograph of half of the waterwheel I think all images are acceptable because there is enough details in the light and dark areas of the photograph.
In the photograph of the mill I think the middle three photographs are acceptable. In the first photograph, over exposed by a stop the detail has been lost in the sky and in the last photograph, under exposed by a stop the detail has been lost in the dark areas of the photograph.
In the last set of photographs of the mill roof I think all the photographs apart from the first one are acceptable. In the first photograph, over exposed by one stop the colours are slightly washed out. I conversely like the under exposed photographs best as the colours are more saturated.
Overall this was a very useful exercise in measuring exposure emphasising the importance of having detail in the highlight and darkest parts of a photographs. It also illustrated that the results can be different depending on the lighting and subject.
New camera!
I finally got around to ordering a digital SLR camera today, something I've been meaning to do for some time! I've ordered a canon 600D (after reading good reviews about it and talking to my camera club friends)and a 28-135mm IS USM lens and plan to buy a 70-300 mm lens in the near future. I'm going to get my camera tomorrow and can't wait to try it out. Hopefully if will spur me on to complete the next assignment which has been taking me ages because of my health problems.
Monday, 13 February 2012
Scottish Seabird Centre Nature Photography Competition 2012

I was very pleased to win 3rd prize with the above photograph in the Landscape category of the Scottish Seabird Centre Nature Photography Competition. The link below shows the other winners' photographs.
http://www.flickr.com/photos/scottishseabirdcentre/sets/72157629244771455/
Measuring exposure

This photograph was deliberately overexposed by two stops so that the page would look white not grey.
Sunday, 4 December 2011


Subscribe to:
Posts (Atom)